
I believe reading changes the way we see the world.
I’m Triin, and I’ve have been taking photos for Bookstagram for the last five years. I’ve learned so much since I started, and I wanted to share some easy-to-do technical tips on how to make your photos of books stand out.
I have a degree in digital arts, but funny enough I’ve learned all the best iPhone editing tips on Youtube. It takes me about 10 minutes to edit my photos using a few iPhone applications.
That said, I have used many different applications throughout the years. Today, I don’t think twice about paying three dollars to try out a promising, new app. But here is my process, along with my seven favorite apps:

TAKING PHOTOS
1. First, I always wipe my phone’s lenses before I start taking photos and make sure the phone screens brightness is high. Sometimes you don’t find a finger smudge until it’s too late.
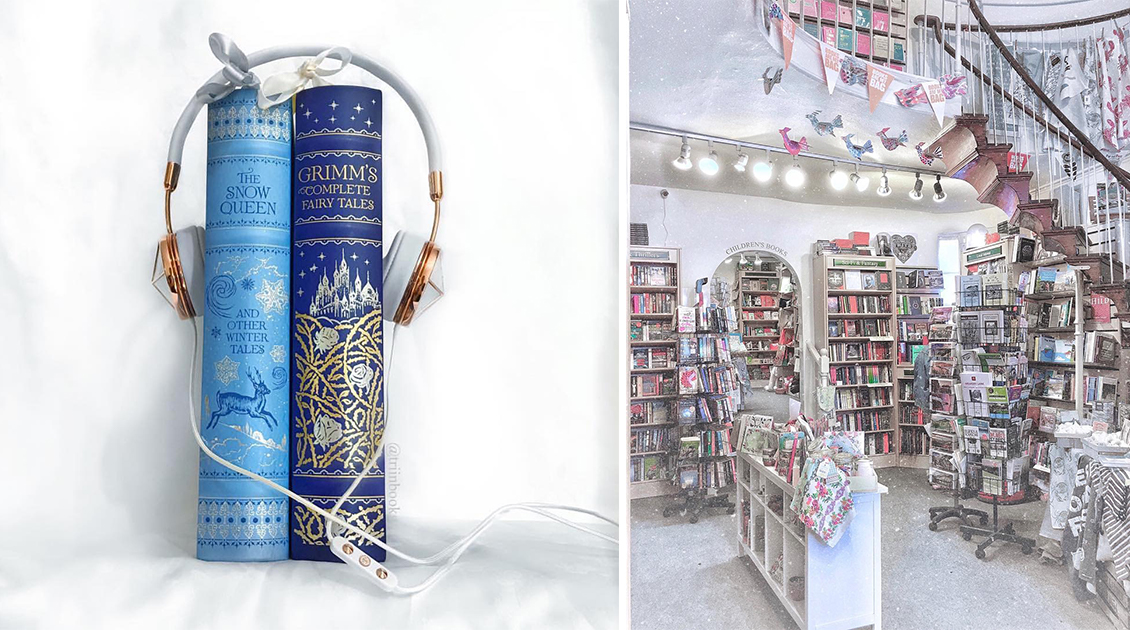
2. Taking photos in the daylight makes editing a lot easier and sometimes I use extra lights. I bought a cheap manicurist LED lamp from Amazon, which has different colored lights, which is amazing for Bookstagram.
3. Using the iPhone camera timer when you shoot gives you extra 3 or 10 seconds to concentrate and find the best angle.
4. Never use the iPhone flash.
5. Turn on the photo grid on your phone, so you can use the rule of thirds.
6. Listen to music while taking the photo. It helps me with the mood of my photos.
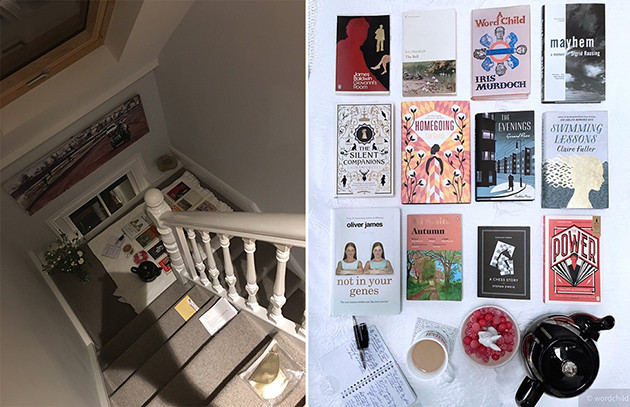
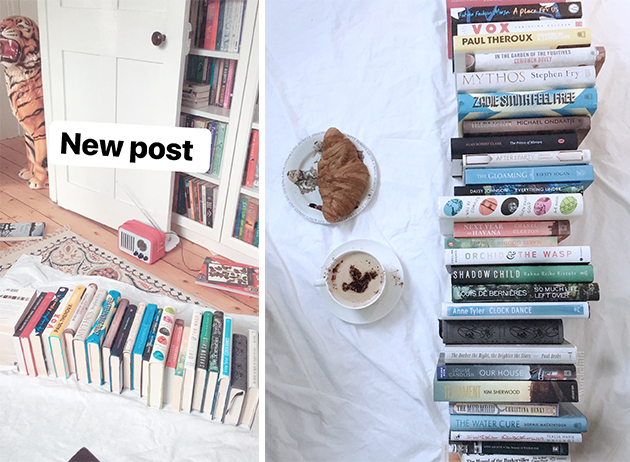
7. Leave negative space in the photos. Unless crowded photos are your style some empty space makes your feed look a lot better.
EDITING PHOTOS
1. iPhone original Pictures application.
I complete the initial editing in the iPhone Pictures application. I crop portrait format photos to optimal Instagram size 4:5. I take the warmth and saturation down and also change the shadows and highlights. I look back at the temperature slide a few times during my editing process and again before uploading.
2. Snapseed
This app has many good tools, and the ones I use regularly are:
Brush tool. This is one of my most used tools. I overexpose my backgrounds, but I want book covers to be clear and visible. I mainly use the exposure brush and less frequently the saturation brush.
Details tool. I change structure sometimes to enhance details.
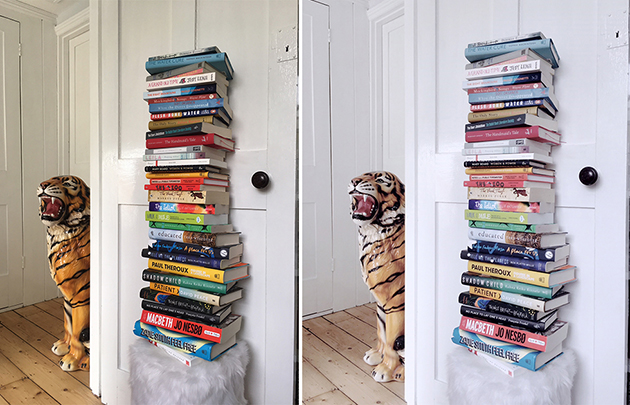
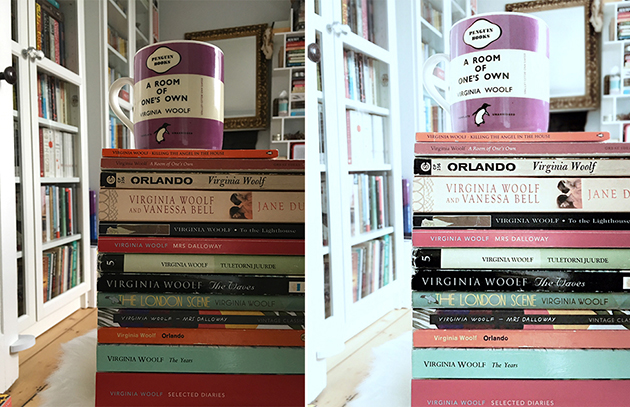
Lens blur tool. You can blur the edges of the photo, so it looks like it has been taken with a camera.
Vignette tool. This tool makes the edges of the photo lighter or darker.
3. Facetune
Azure and Lighter filter. I use them because they have Wipe and Apply buttons. When I only want to use the filter on background, I leave the book cover clear and wipe the background. If I want to do the opposite, I clear the photo but apply the filter on the book. For example, Azure makes my cappuccinos look horrible, so I have to swipe cappuccinos.
Whitening tool. Swipe the white areas to make them whiter and you can use whitening tool twice to get perfect white.
Details tool. This is another irreplaceable tool. Sometimes book covers are blurry and this tool is a great way to change that. You do have to be careful as it is easy to overdo it.
Smooth tool. Some of the corners of my library are very dark, and the darkness leaves photos fuzzy. I swipe this off with the smooth tool and often use it to improve my skin.

4. Afterlight
Dusty tool. I recently have played with Afterlight to add dust to my photos. The tool has 13 different dusts, and you can change the intensity of them.
5. Lightroom CC
Color–mix tool. Attractive Instagram feeds often have just three or four colours. With this tool, you can desaturate specific colors you do not want in your feed.
Light tool. You can make the blacks and whites denser.
6. PS Express
Great for reducing noise in your pictures. I used this noise tool constantly before I started using Facetune’s smooth tool.
7. SKRWT
I occasionally use SKRWT to fix perspective problems and straighten lines to make them look more natural and symmetrical. Sometimes book flatlays need a little adjustment.
UPLOADING TO INSTAGRAM
Preview app. Before uploading to Instagram I always upload to Preview app to check how it looks in my feed. Usually, my photos are too warm, and I have to upload about five times before I am happy. I used to have a private Instagram account instead of Preview app, but I am now afraid of the Instagram algorithm which might register the photo has been uploaded before. I have tried a few Instagram scheduling applications and Preview app is my favourite because it is easy to use, fast and has no monthly limits.
If you have any questions about editing photos for Instagram, I recommend searching for the theme you want on Youtube.
It has been great to share my thinking about the technical details of what goes into a good Bookstagram photo, but the best thing for me about Bookstagram is the community and the people. I love chatting, so drop by @wordchild and share your favorite editing app with me, or just to say hello! Please come and show me your photos and any tips which have made a difference for you.